Using Htv on Baby Bibs With Plastic Backing
This post may contain affiliate links. As an Amazon affiliate, I earn from qualifying purchases. I receive a small commission at no cost to you when you make a purchase using my link.
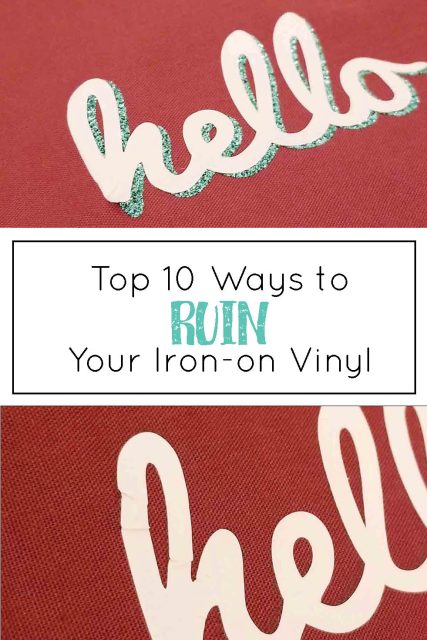
Top 10 ways to ruin your iron-on vinyl project
Want to get great results with your heat transfer vinyl (also known as HTV, or iron-on vinyl)? Too bad. I'm going to show you all the things you should be doing to make sure you ruin your HTV projects. But, I guess I'll also explain how to fix the problem so you can get great iron-on results if that's your thing.
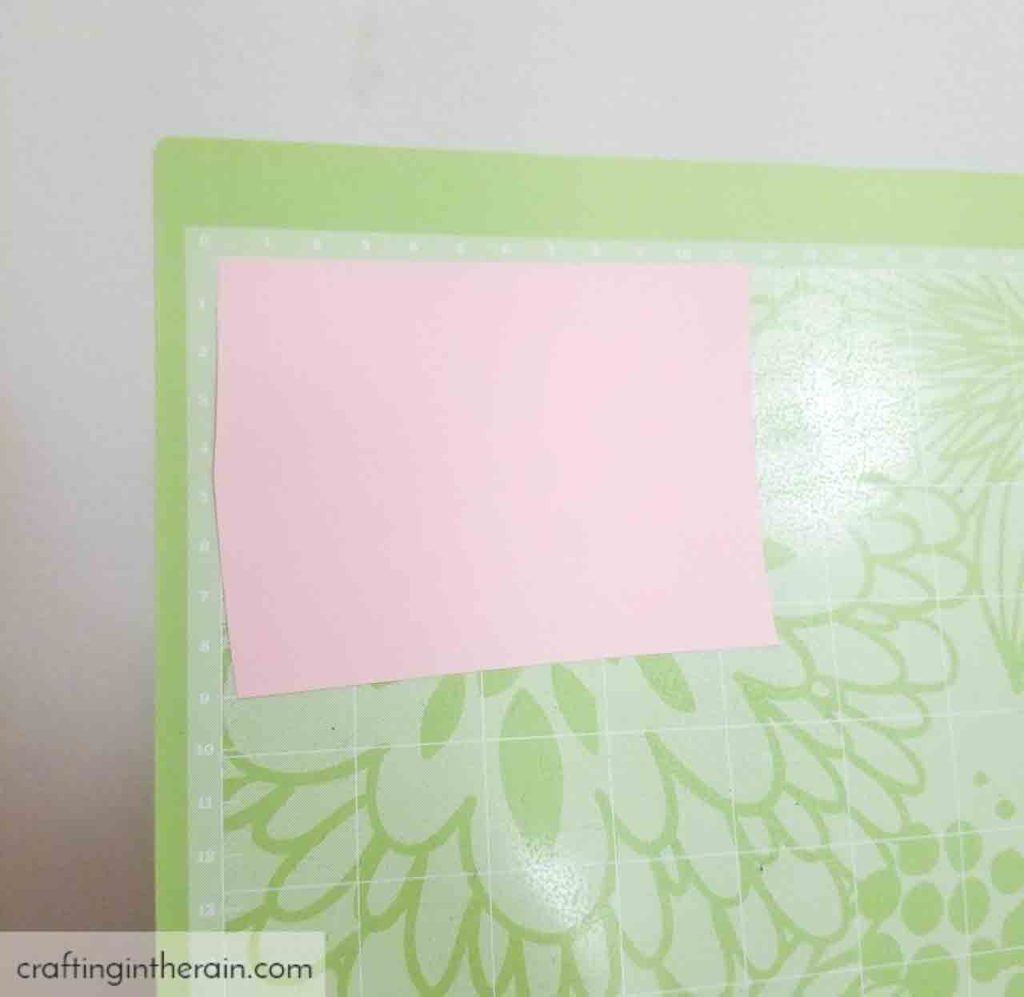
1. Put the iron-on down on the mat wrong.
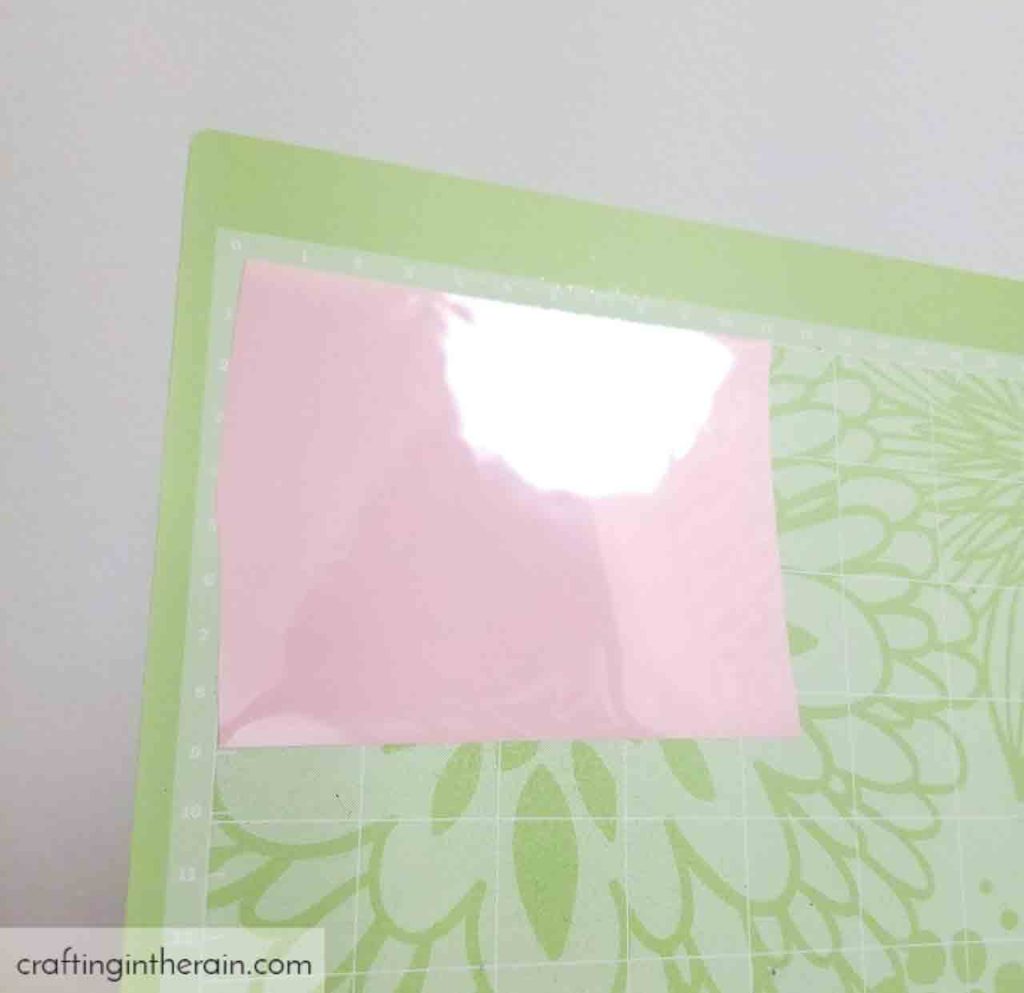
FIX: Remember shiny side down because you're cutting on the back side of the mat and leaving the plastic carrier sheet intact.
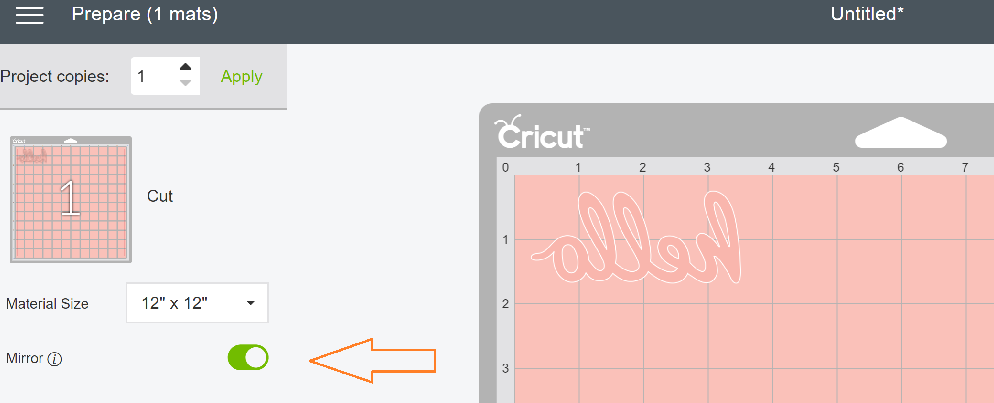
2. Don't mirror your image.

FIX: Since you're cutting on the back side the design needs to be backwards when it cuts.
3. Cut the material on the wrong setting.
FIX: In Cricut Design Space there are multiple settings for cutting iron-on. If using a basic iron-on (Everyday, Lite) just choose the Iron-on setting. Otherwise, search for Glitter, SportFlex, Foil, Patterned, to make sure you get successful cuts. When in doubt, try a test cut! In my experience, it's best to avoid the HTV setting.
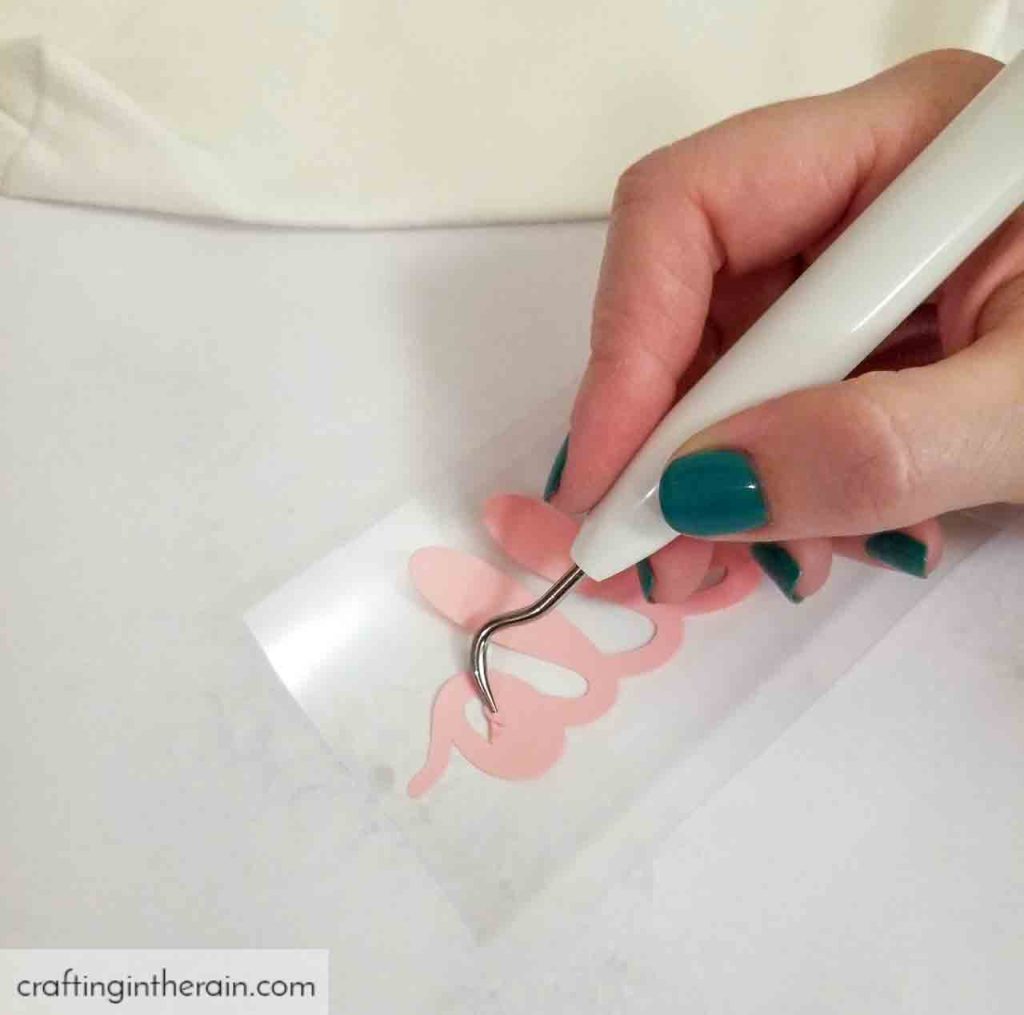
4. Weed the wrong part of the design.
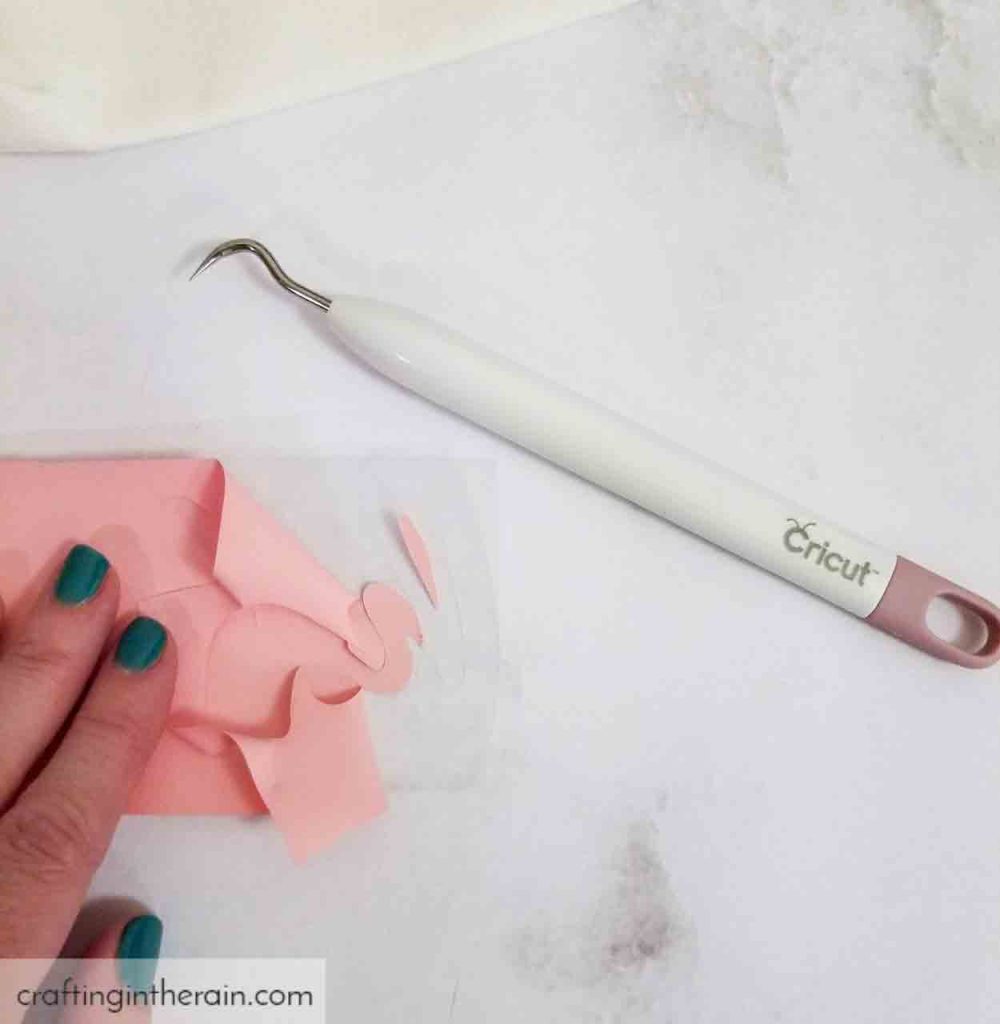
FIX: It's so frustrating to realize that an important part of the design has been weeded by mistake. Start with the outside edges, then work your way in. Don't forget the insides of letters. This helps keep track of which parts stay in the design and which parts go.
5. Don't preheat the material.
FIX: Preheating gets rid of moisture that could be in the shirt, or whatever you're ironing on to. This can cause issues and make the iron-on peel up later. Also, you will be able to tell if the heat causes problems, without also ruining your cut design.

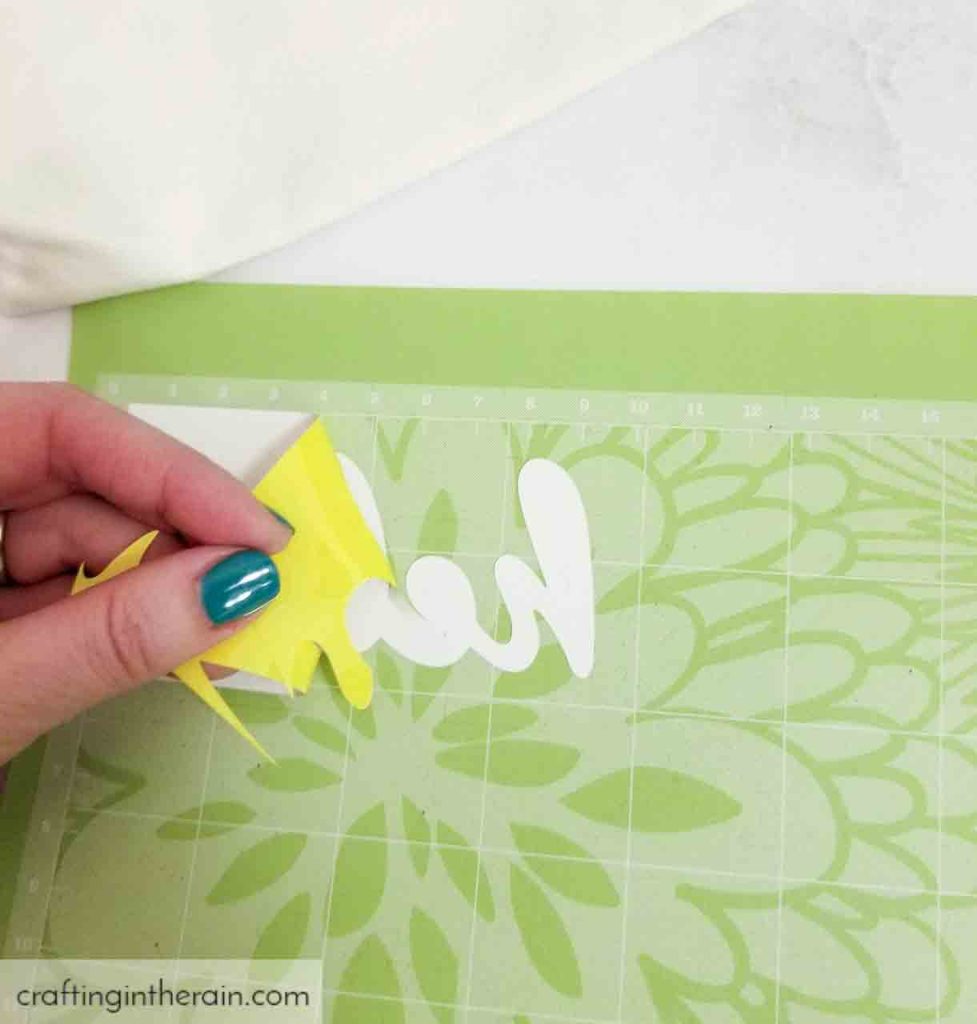
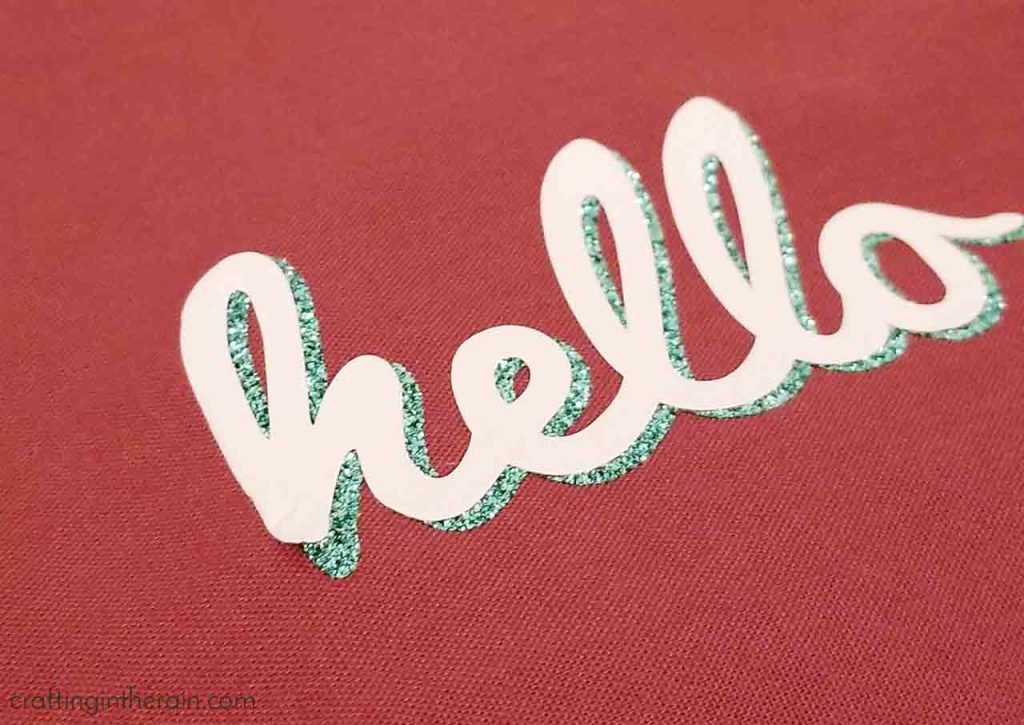
6. Put the design with the adhesive side facing up.

FIX: Since the design was mirrored when it was cut, flip it over to put it down on the material. Now plastic carrier layer is on top, and the adhesive side is down, against the material. The design should look correct also, nothing is backwards now.
7. Layer iron-on over the carrier sheet of another piece.
See how the pink "h" is on top of the carrier sheet of the gold "o." Then the glitter "ll" is on top of the carrier sheet for the pink.
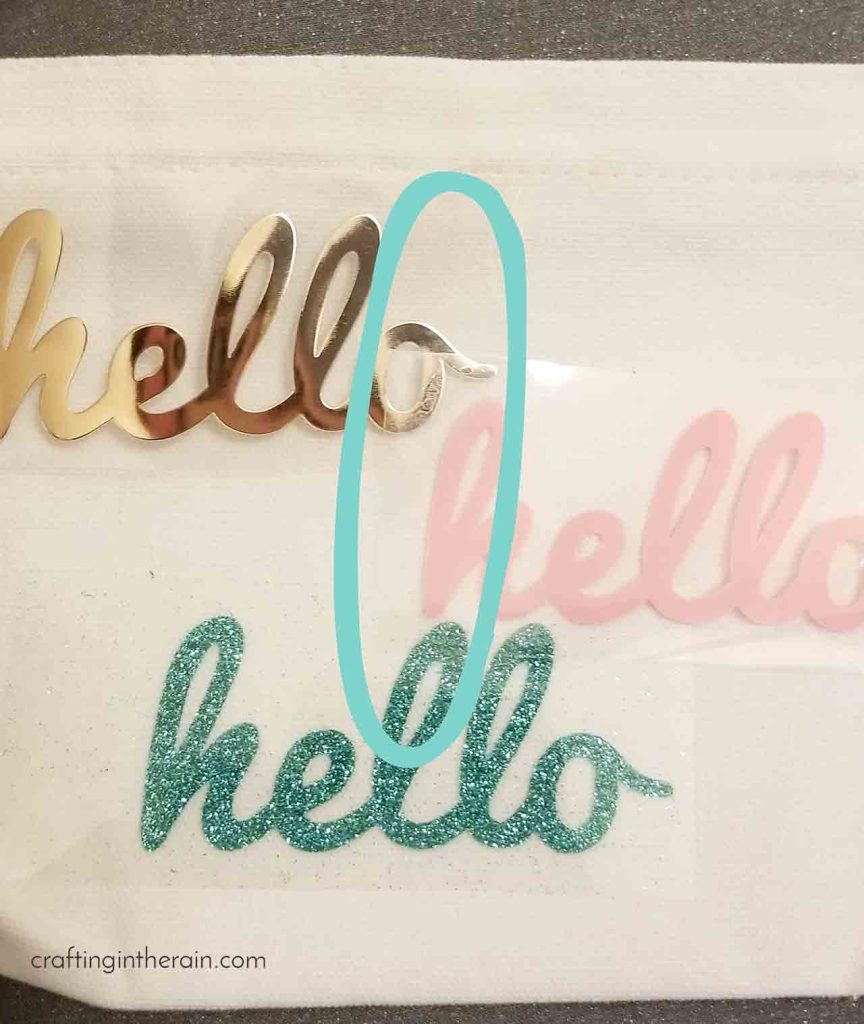
FIX: The iron-on vinyl will always stick to what is right underneath it, even if it's the carrier sheet of another piece of vinyl and not your actual project. Avoid this by trimming away some of the excess carrier sheet. If that's not an option, press one layer down for a few seconds, peel, and then position the other piece.
8. Layer the wrong kinds of HTV.
FIX: Know the properties of the iron-on you're using. Certain kinds of iron-on need to be the top layer because the adhesive won't work great on top of them. Glitter, foil, holographic, patterned and flocked should all be a top layer. Try the slice trick to get the look of layered glitter HTV, for layering any of these top-layer types.
For layering basic iron-on, or stretch HTV, keep the types the same. Meaning, don't try to layer stretch or SportFlex iron-on over a regular iron-on, because their amount of flex is different and could cause the vinyl to wrinkle, pucker or peel. Finally, use a protective sheet to protect any layers that have the plastic peeled off already.
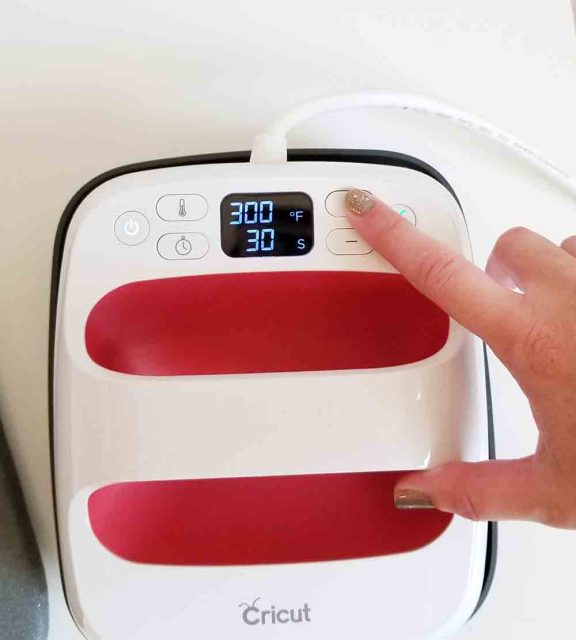
9. Don't press it long enough.
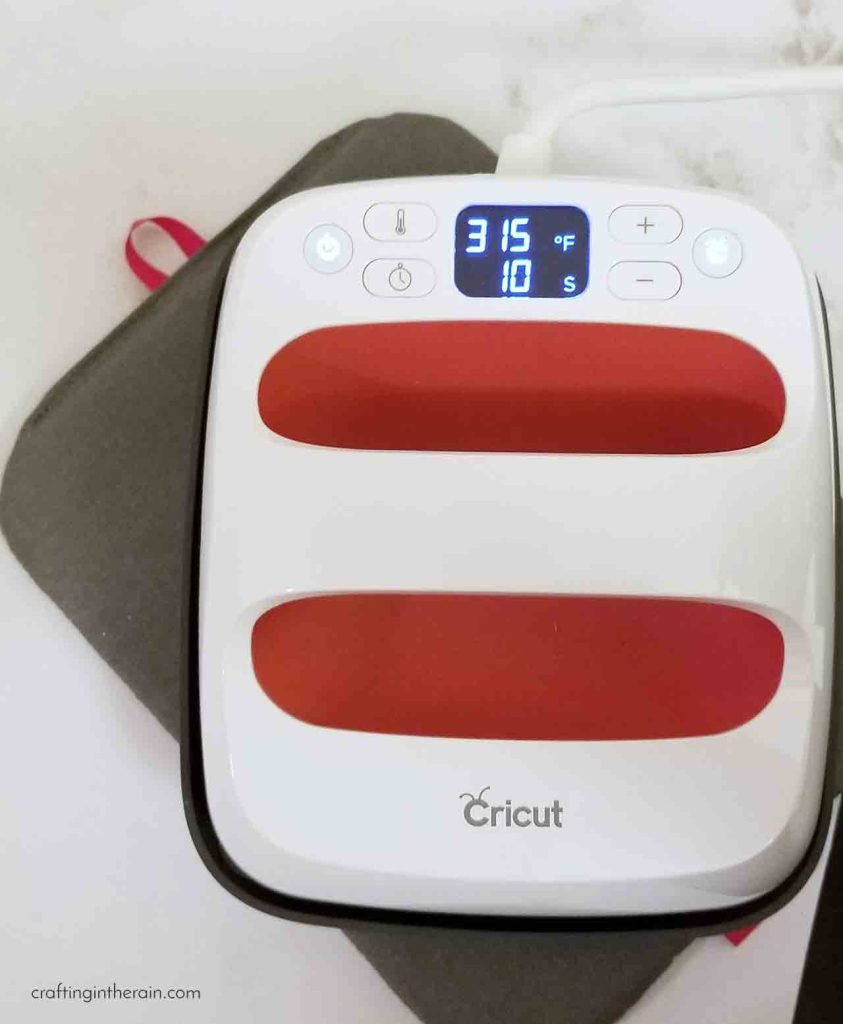
FIX: Check the iron-on settings guide for temperature and time recommendations for various HTV and base materials. Not pressing long enough can result in adhesive that isn't activated enough to give the longest lasting results.
10. Move the EasyPress or Iron around while pressing.
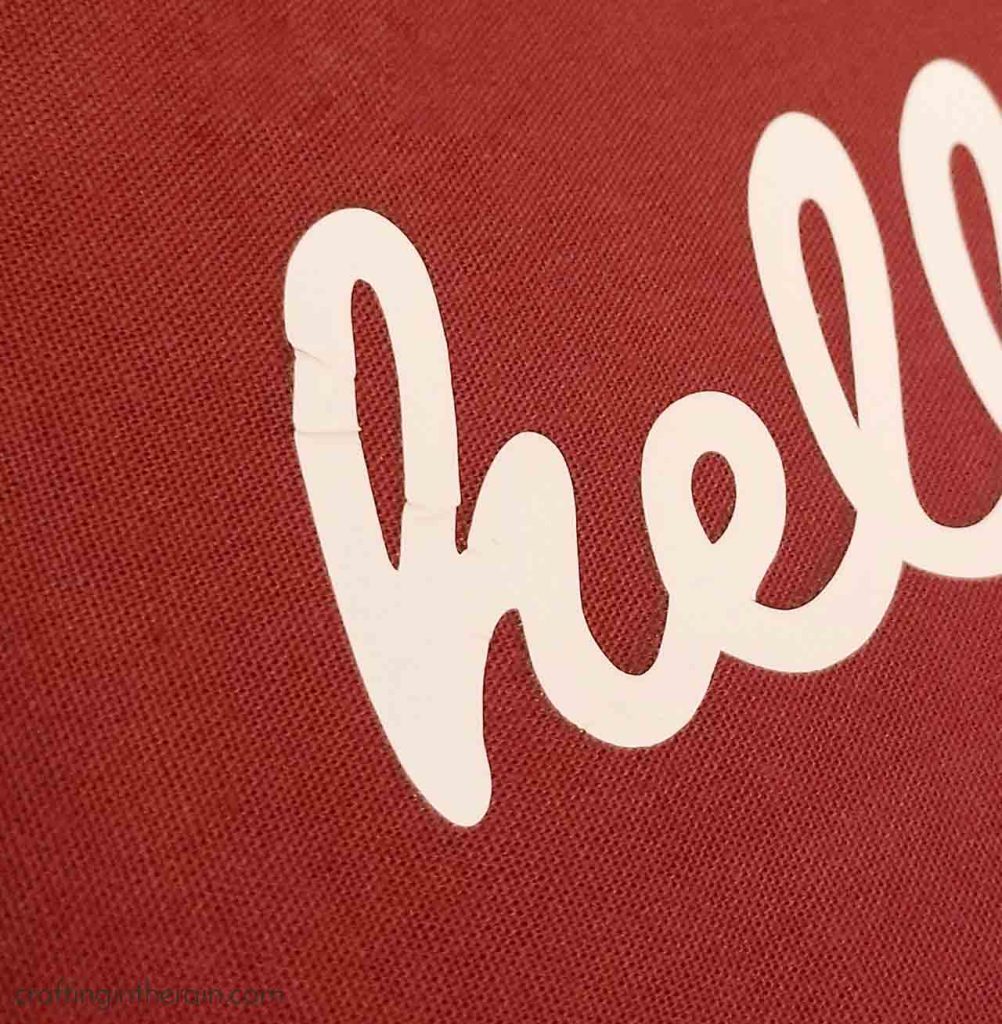
FIX: Keep the EasyPress or Iron stationary while pressing down on the design. If you are doing lots of designs that have a large area, consider the large size EasyPress. Or make multiple presses. But, moving the press will cause the iron-on to squish and wrinkle on the fabric.
*One exception here is the EasyPress mini. It's been specially designed to actually move around a bit while you're pressing. Learn more about the EasyPress mini here.
BONUS: Misplace another piece of iron-on and adhere it to the back of your project (like a shirt!) This is one of my favorite ways to ruin an iron-on project because you nearly lose your mind for a few minutes trying to find that missing piece – and then when you do, major face palm.
FIX: Carefully keep track of all iron-on pieces while working. Don't leave them where the sticky carrier sheet may accidentally get stuck where you don't want it.
Did I miss any of your favorite ways to mess up iron-on vinyl projects? Share in the comments, or if you're nice, maybe give some iron-on vinyl tips for success.
Materials
- Iron on Vinyl (also called Heat Transfer Vinyl)
Tools
- Iron or EasyPress
- Cricut
Instructions
1. Put the iron-on vinyl shiny side down on the mat so you're cutting the back of the vinyl and not the carrier sheet
2. Mirror the image in the design program before cutting - otherwise when you flip the vinyl, the cut will be backwards
3. Choose the correct cut setting as different HTV can be different thicknesses - make some test cuts if you're not sure
4. Carefully weed away the pieces of vinyl that aren't part of the final design - it helps to work from the outside and move in
5. Preheat the material to remove moisture and wrinkles
6. Place the vinyl design so the plastic carrier sheet is face up and any letters should read correctly
7. If pressing more than one piece at the same time, make sure that no vinyl overlaps the clear sheet of another piece by accident
8. Know which kinds of iron-on can be layered over, and which kinds need to be on top
9. Press the iron-on for the amount of time recommended to ensure a strong bond and long-lasting design
10. Prevent wrinkled vinyl by keeping the iron or EasyPress still while pressing. (The exception is when pressing a smaller design with the EasyPress Mini - it was designed to slide while pressing)
I designed a printable cheat sheet that goes along with this post so you can keep it handy while you're crafting. Sign up for the newsletter to get it delivered right to you!
Now you're ready to try some of these popular iron-on projects:
Custom baby bibs
Iron-on vinyl decorated cork
HTV wood sign
Iron on vinyl on a hat
Using Htv on Baby Bibs With Plastic Backing
Source: https://craftingintherain.com/how-to-ruin-your-iron-on-vinyl/
Post a Comment for "Using Htv on Baby Bibs With Plastic Backing"